How To Disable Bing Search In Windows 10 Start Menu?
April 18, 2023 By Jozeph P
(Image Credit Google)
When a local search yields nothing, a built-in Bing search is one of the capabilities of the Windows 10 Start Menu. This article will describe how to remove Bing search from the Start Menu, whether it's due to privacy concerns, bugs, or just personal distaste.
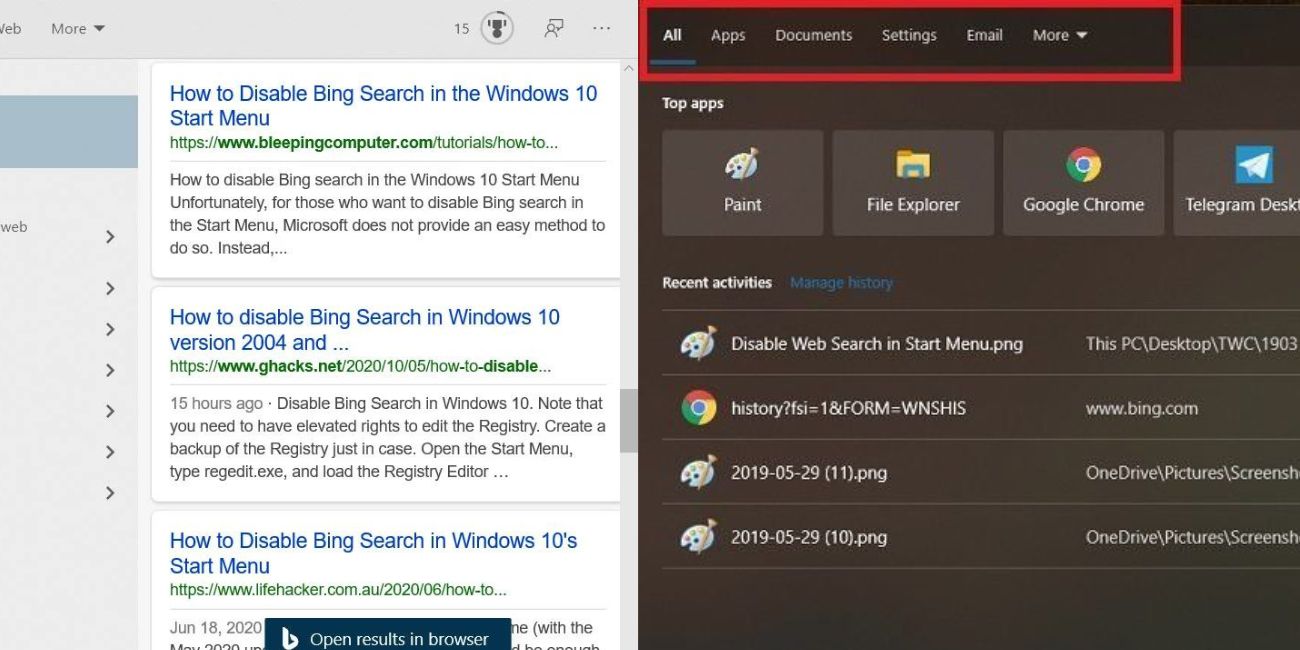
When you search in the Windows 10 Start Menu, the operating system will first seek for local search results, such as settings, files, or programmes, and display any that are discovered. Windows will then run a Bing search for the search term if there are no local results and present the results in the Start Menu as seen below.
These searches will be uploaded to Microsoft while logged in, and Microsoft will subsequently display them in your account's Privacy Dashboard. The possibility that Microsoft is utilizing this information to monitor your browsing patterns raises privacy concerns.
 In the past, Bing search issues have also resulted in the Start menu in Windows 10 seeming to be completely empty. Disabling the Bing search tool could stop those bugs from happening again if you don't use it.
The two techniques listed below can be used to remove Bing search from the Windows 10 Start Menu.
In the past, Bing search issues have also resulted in the Start menu in Windows 10 seeming to be completely empty. Disabling the Bing search tool could stop those bugs from happening again if you don't use it.
The two techniques listed below can be used to remove Bing search from the Windows 10 Start Menu.
METHOD 1: DISABLE BING SEARCH RESULTS VIA THE GROUP POLICY EDITOR
The Group Policy editor, which is a feature of Windows 10 Pro, can be used to remove Bing search from the Start Menu.
Take the following actions to disable Bing Search:
- When the result for "gpedit.msc" displays in the Start Menu, click it.
- Navigate to the following location once the Group Policy Editor has opened: Windows components, administrative templates, and user configuration file manager.
- You will find a policy titled "Turn off display of recent search entries in the File Explorer search box" in the File Explorer area, as shown below. To open the policy, double-click on it.
- To disable Bing search, set this policy to 'Enabled.'
- When done, click on the Apply and then OK button to save the policy.
- You can now close the Group Policy Editor and restart Windows Explorer or restart your computer.
METHOD 2: USE THE REGISTRY EDITOR TO DISABLE BING INTEGRATION
You can disable Bing's integration with Windows Search using the Registry editor if you are using Windows 10 Home and are familiar with managing the Windows Registry.
- By simultaneously pressing the Windows key and the R key, you can first launch the Windows Registry Editor. By doing this, the Run: dialogue will be displayed. Type regedit into it, then click OK.
- If you choose to allow the Registry Editor to make changes to the system, Windows will ask you via a UAC question. To proceed, select the Yes radio button.
- Navigate to the HKEY_CURRENT_USER\SOFTWARE\Policies\Microsoft\Windows\Explorer key. If the key does not exist, create the necessary folders until you are in the Explorer key.
- As illustrated below, right-click on Explorer and choose New, followed by DWORD (32-bit) Value.
- A prompt will ask you to type the name of the new value. Press Enter after typing DisableSearchBoxSuggestions on the keyboard. There will be a new value produced, which ought to be automatically set to 0. Double-click BingSearchEnabled now, change the value to 1, and then click OK.
- When finished, the BingSearchEnabled value ought to be created and set to 1.
- Now that the Registry Editor has been closed, you can restart Windows Explorer or your machine.
Bing search will stop functioning in the Windows 10 Start Menu after restarting.
By Jozeph P
Journalism explorer, tech Enthusiast. Love to read and write.