How To Root The Pixel 7a Using Magisk
May 16, 2023 By Awanish Kumar
(Image Credit Google)
Image credit : CNET
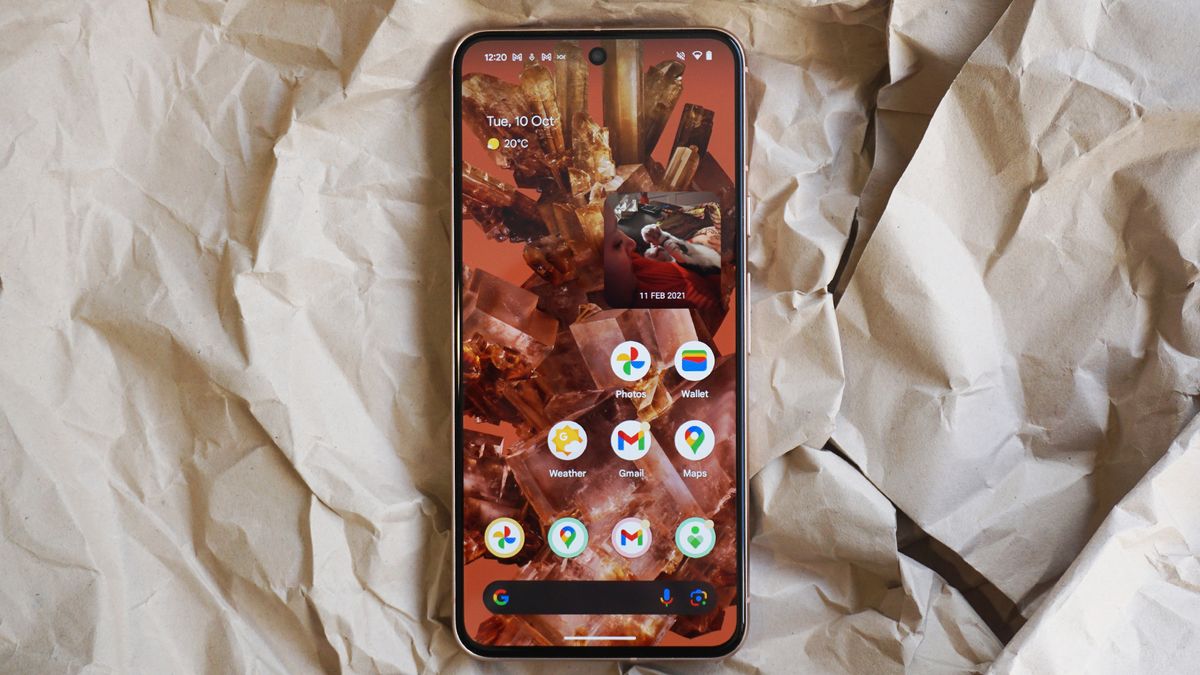
It is safe to say that many people would be eager to root their devices and modify them to their heart's content, and today we are going to explain how to root the Pixel 7a using Magisk. The Pixel 7a looks like an excellent mid-ranger that you can get your hands on, and considering the price tag and the fact that it comes with vanilla Android, it is safe to say that it features.
You should be aware that the phone's bootloader needs to be unlocked before you begin the rooting process. You can use this guide if your Pixel 7a doesn't have a bootloader that has been unlocked. Keep in mind that by unlocking the bootloader, you will wipe the Pixel 7a whether you choose to root it with Magisk or not. Therefore, it is suggested that you create a backup in advance.
Easily root the Pixel 7a using Magisk and customize your phone the way you want
The Pixel 7a's rooting procedure is therefore identical to that of its older siblings, however it is incredibly simple. Let's look at how to use Magisk to root the Pixel 7a without wasting any more time.
Note: It's critical to confirm that the build you download matches the build loaded on your phone since you must match the init_boot image as the build number.
Step 1: Click here to download the relevant factory picture.
Step 2: After downloading the factory image, unzip it and then seek for image-[device codename]-version.zip to extract it as well.
Copy the init_boot.img file to your Pixel 7a in Step 3.
Step 4: Install Magisk on your phone after downloading it from this page.
Step 5: Launch Magisk, touch on the install button, choose the init_boot.img file that you copied into your Pixel 7a under Method, and then tap on the install button.
Step 6: After the file has been patched, it should be titled "magisk_patched_xxx.img". You can copy the image back to your computer and rename it if you'd like.
Turn off your Pixel 7a in step seven.
[caption id="attachment_171122" align="aligncenter" width="1173"]
Image credit : HT Tech[/caption]
Step 8: Once you are in the bootloader, plug your phone into your computer using a USB cord while continuing to hold down the volume down and power keys simultaneously.
Step 9: To finish, simply enter the command fastboot flash init_boot path/to/magisk_patched.img.
The patched image will be flashed onto your Pixel 7a in step 10 of the procedure. When it is finished, type adb reboot to force your phone to restart.
Also read :
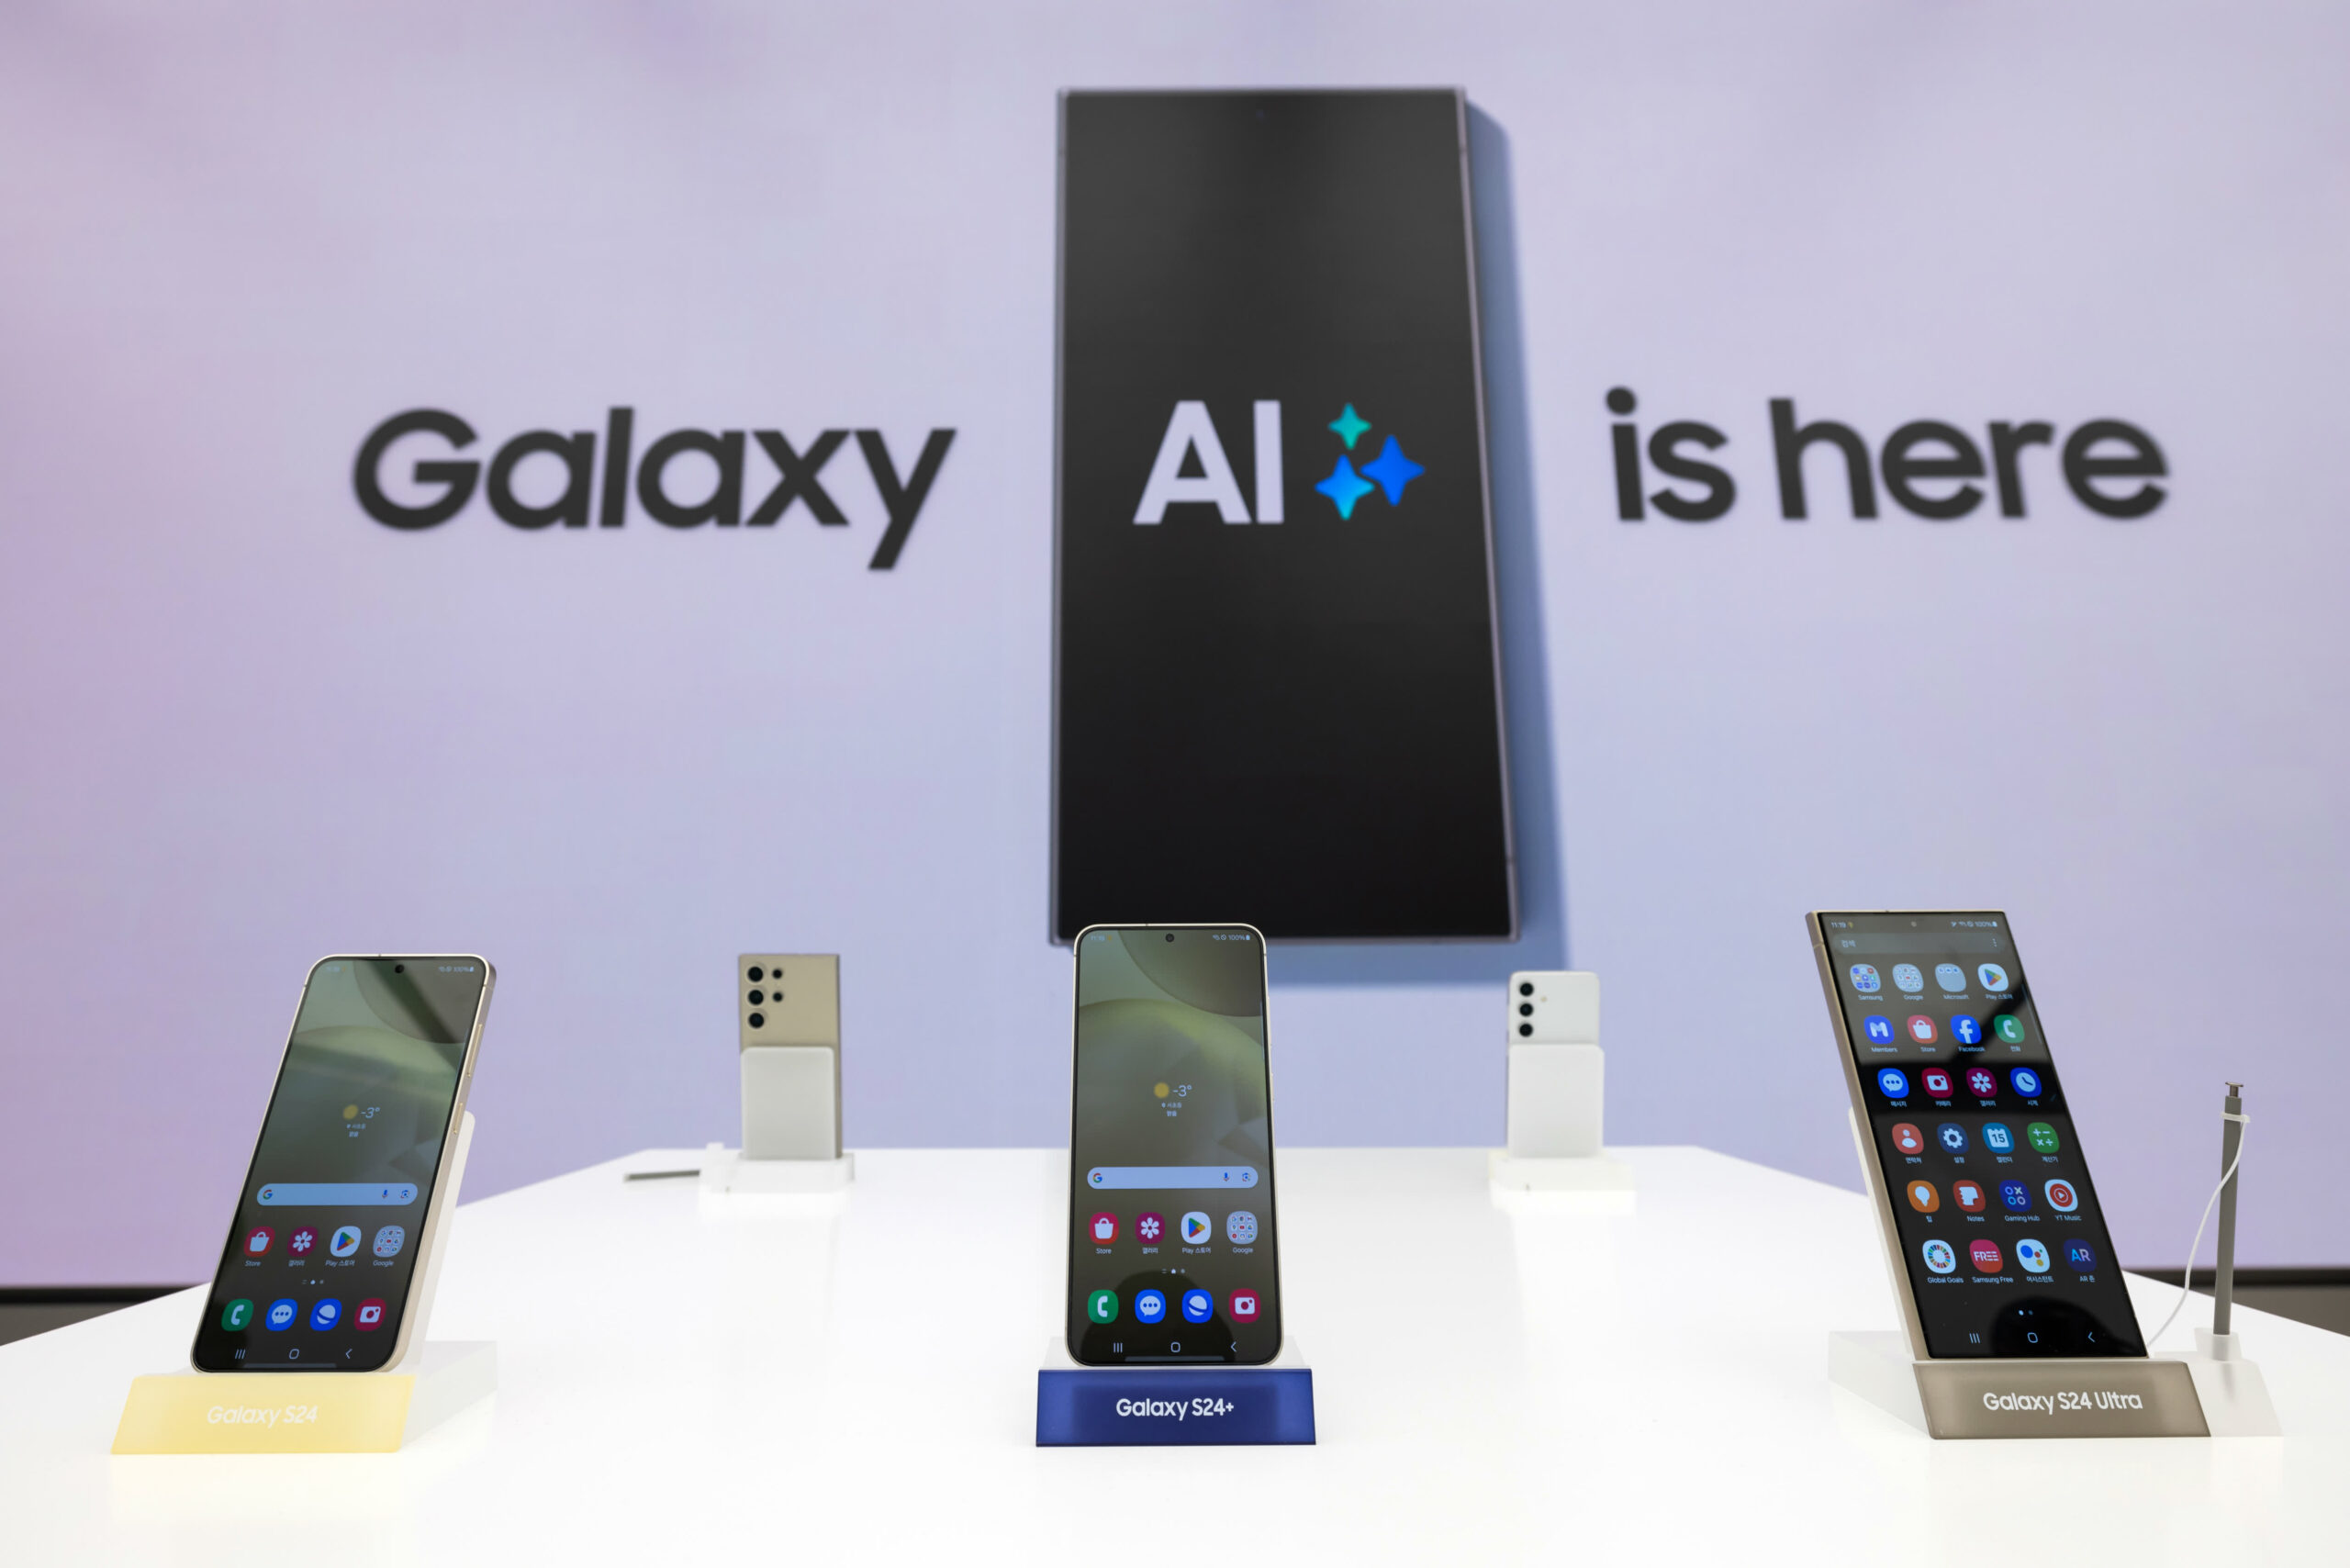
Price of the Samsung Galaxy S23 Series Won’t Increase in the US, Leaked Carrier Data Shows
Step 11: The Magisk app should appear on your home screen after the phone restarts.
It is important to note that since the init_boot.image changes with each update, you will need to go through the entire procedure each time one arrives.
By Awanish Kumar
I keep abreast of the latest technological developments to bring you unfiltered information about gadgets.