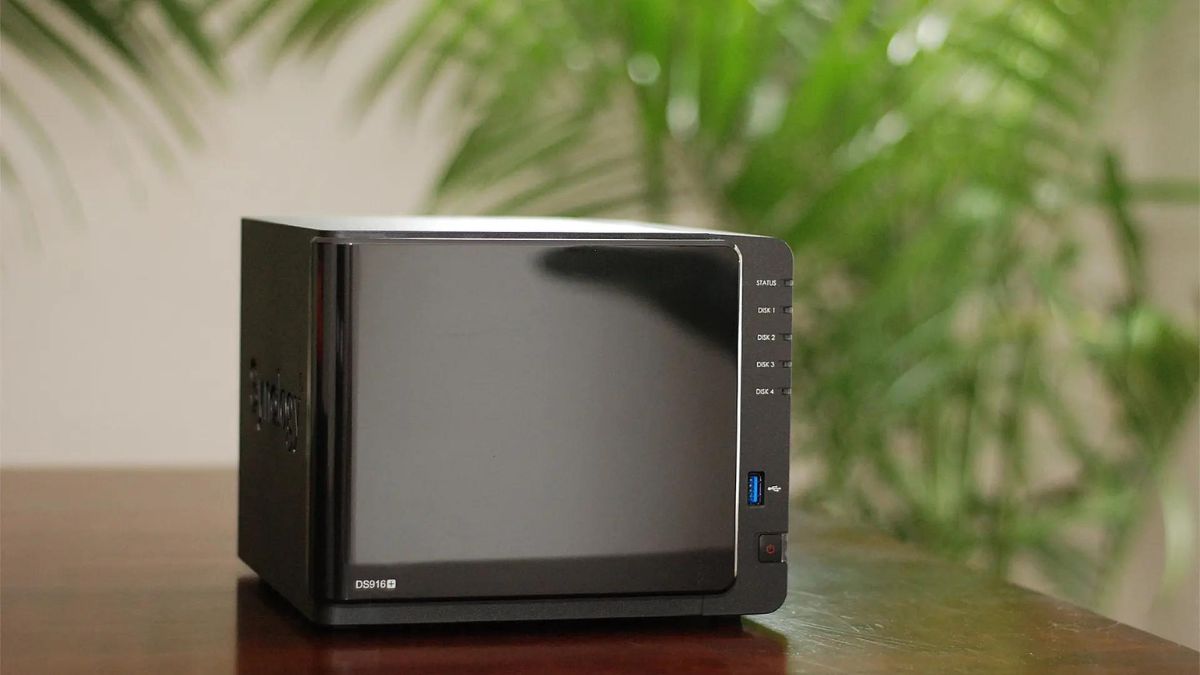
How To Start & Shut Down Your Synology NAS? (Both Auto and Manually)
March 20, 2023 By Prelo Con

(Image Credit Google)
Photo Credit: TECHTELEGRAPH
Your Synology NAS can be shut down and restarted in a number of ways, including by direct physical contact with the NAS, software, pre-planned actions, and remote restart using Wake On LAN, below are some approaches.
Your Synology NAS can be remotely started and shut down manually or automatically in a number of different ways. For the majority of them to be ready when you need them, the configuration is required in advance.
What is the reason for your Synology NAS to be turned down?
Most users leave Network Attached Storage (NAS) devices, whether they are Synology-branded or not, running continuously. By doing this, you may reduce the amount of stress your drives are under during spin-up and spin-down operations. This is important even for hard drives that are NAS-grade. The ability to self-host practical services like a video server and more is part of the appeal of running a NAS, as is the always-on backup feature.

Photo Credit: The New York Times
How to Activate the Synology NAS Physically?
The power button is the first way, which is also the least intuitive at the same time. Because it is a power button, it is on the one hand intuitive. Power buttons operate in the same manner, turning devices on and off.
But if you've used computers for a while, you'll probably wince at the thought of turning off your NAS with the power button. In the PC world, holding down the power button and hitting it again is a physical shortcut for doing a hard power reset (albeit this isn't the best approach to shut down your computer).
Also Read:
How to Restart Your iPhone Using Your Voice
DiskStation Manager Shutdown and Restart Instructions
You must log in and locate the icons in the DiskStation Manager GUI's top right corner if you wish to shut down or restart your Synology NAS using the web-based interface. The tiny head and shoulders bust icon, which denotes the settings menu, should be clicked.
A UPS Battery Backup's Automatic Shutdown Procedure
Two actions are required to enable a graceful shutdown. A USB tether must first be used to physically connect your UPS unit to your Synology NAS. Technically, you can use a network-based connection via the Simple Network Management Protocol (SNMP) to control the UPS component of your Synology NAS, but we prefer the simplicity of a USB-based connection because it allows the UPS and the NAS to communicate with each other directly regardless of the state of the local network or other factors at play.
It only takes a few clicks in DiskStation Manager to enable UPS support after connecting the UPS unit to your Synology NAS using one of the available USP ports.
Choose the "UPS" tab by going to the same Control Panel > Hardware & Power menu.
How to Start Your Synology NAS Remotely Using Wake on LAN
You must go to Control Panel > Hardware & Power > General to enable WOL. Check the boxes next to "Enable WOL on LAN1" and "Enable WOL on LAN2" on the general tab to enable WOL on both LAN ports (if your NAS has a dual-port network interface card).
Once WOL has been activated on your Synology NAS, all you need is an app to deliver the magic packet and start the wake-up process. The simplest tool to utilize is the WOL function included in the DS Finder (iOS/Android) app we stated earlier in the text if you don't normally do this outside of waking up your Synology NAS.
To begin, open the DS Finder app and select "More" from the general navigation bar at the bottom. Choose the login for the associated account or NAS you want to wake up from the More menu.

Photo Credit: Synology
Next, within that sub-menu, click the three dots next to the NAS's IP address and username. You can choose "Wake on LAN (WOL)" from the pop-up option that appears. The DS Finder app and the Synology NAS must be on the same local area network (LAN) in order for the WOL function to function. You will be prompted to confirm transmitting the packet.
By Prelo Con
Following my passion by reviewing latest tech. Just love it.

 Photo Credit: The New York Times
 Photo Credit: Synology
Next, within that sub-menu, click the three dots next to the NAS's IP address and username. You can choose "Wake on LAN (WOL)" from the pop-up option that appears. The DS Finder app and the Synology NAS must be on the same local area network (LAN) in order for the WOL function to function. You will be prompted to confirm transmitting the packet.


