How to Install Emulators on the Steam Deck?
January 13, 2023 By Raulf Hernes
(Image Credit Google)
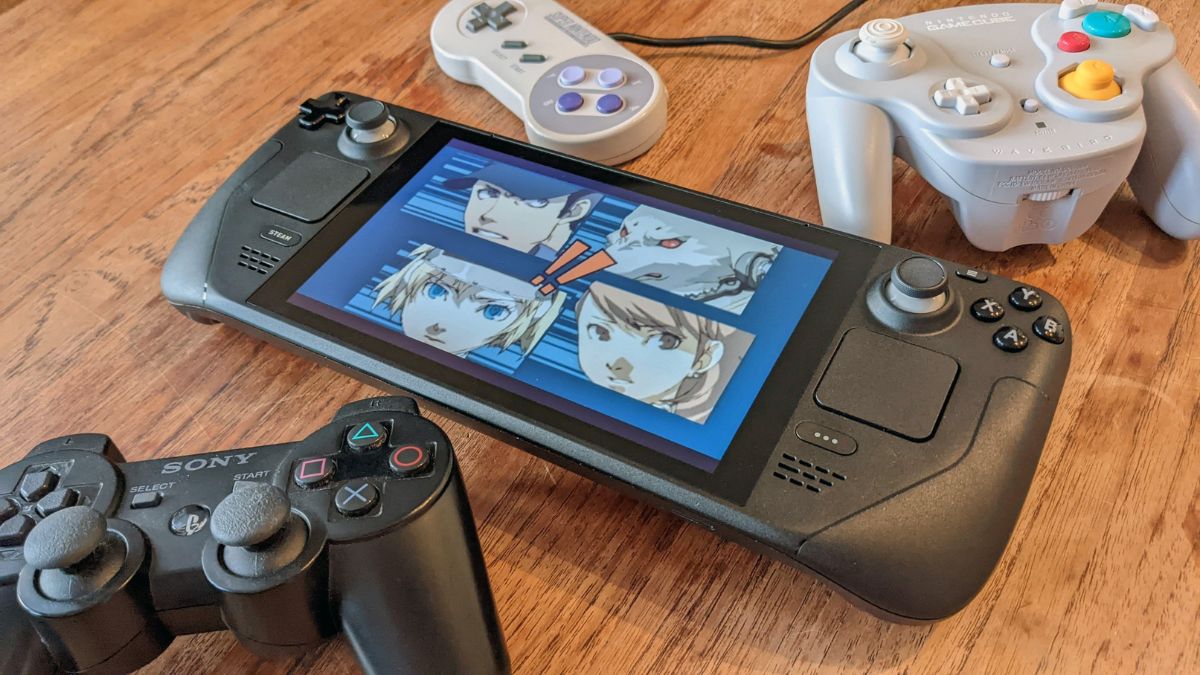
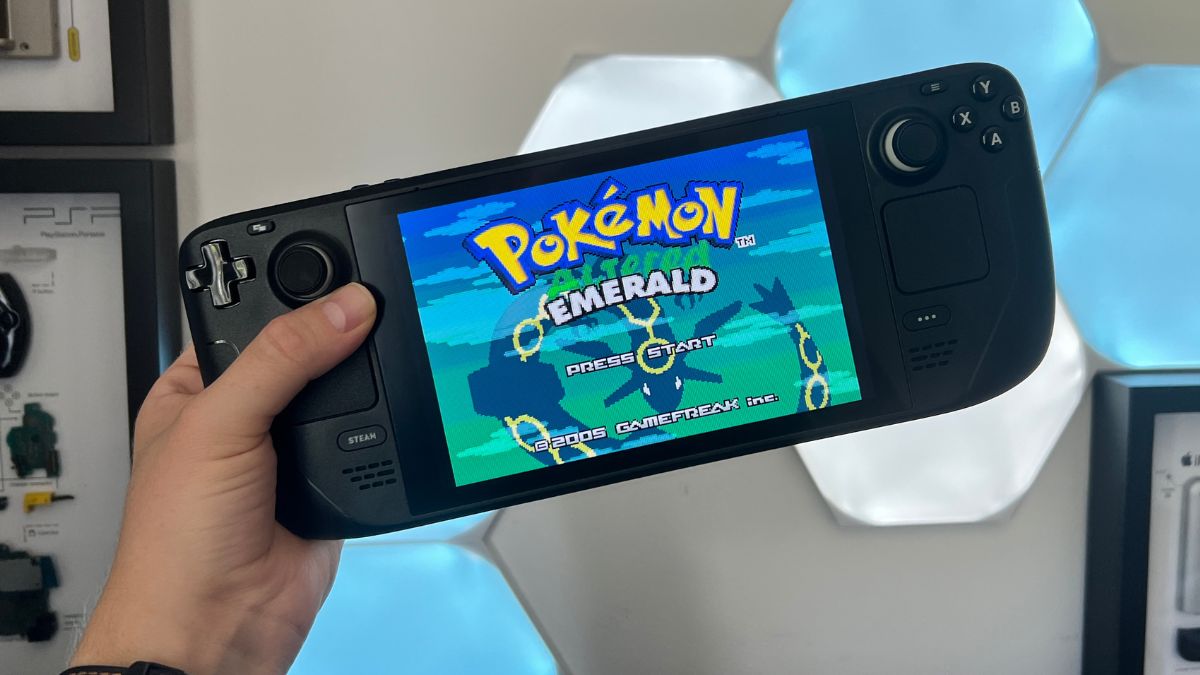
When you've exhausted all of the latest stuff on your Steam Deck, you can turn your handheld PlayStation into an emulator and play a range of classics from gaming's past. With the right software and a little know-how, you can use your Valve device to play games from the GameCube, the original PlayStation, the Xbox 360, and other older platforms.
When it comes to the emulation software that will run on the Steam Deck, you have a few options, but our current favorite is EmuDeck. It's comprehensive, simple to set up, and completely free to use. It does, however, use a set of scripts to manage the emulation—if that's what you're looking for.
How to Install EmuDeck?
To get EmuDeck up and running, you must first prepare it. A microSD card is the best way to store your emulator games, and a U3 A2 card, such as those available from SanDisk's Extreme line, will produce the best results.
We'll also be using desktop mode inside the Steam Deck, so you can speed up the installation by connecting a keyboard and mouse. This isn't required, but it does make it easier to type on the gadget and move through the steps we'll go over here.
[caption id="attachment_81237" align="aligncenter" width="1200"]
(Image credit: Future)[/caption]
- Select Power and Switch to Desktop after pressing the Steam button on your console.
- This means you've entered a conventional Linux environment, so launch the Firefox browser that comes preinstalled and navigate to the EmuDeck website.
- At the top, click Download, then Download the installer, to save the file to your desktop.
- Easy mode handles most of the configuration for you, while Custom mode allows you to choose which emulators to install.
- Whatever option you select, you will be asked to choose an installation location, so select your microSD card.
- Once you become more familiar with EmuDeck, you can quickly run the same installation file again to explore alternative emulators or modify any of the configuration settings, so don't feel obligated to stick with your initial choices indefinitely. The installer will copy and install all of the required files before you can begin loading games.
Also Read: Android users, Google has removed these 5 apps
To run emulators, you must have both the BIOS and ROM files. The Steam Deck can read Windows and macOS-formatted drives, so you can plug one into your handheld. You could also go wireless with a solution like Windows file sharing. We're not trying to get into the contentious and legally ambiguous issue of where you get your BIOS.
On the microSD card, you will find the following folders: Specifically, "Primary/Emulation/bios/" for BIOS files and "Primary/Emulation/ROMs/" for ROMs, with "Primary" being the name of the card itself. Each emulator has its own folder, so it shouldn't be too hard to figure out what goes where.
You must then ensure that your Steam Deck can view all of these fantastic emulators and games. From the Linux desktop, run the EmuDeck installer again, then select Tools & stuff and SteamRomManager. The following screen will display a list of emulators on the left: Toggle on the ones where you want their games to appear in the Steam Deck interface, or simply select EmulationStationDE to browse all your emulators and games from the home screen menu.