Home » News » How to Fix a Windows 11 Laptop That's Plugged in but Isn't Charging

How to Fix a Windows 11 Laptop That's Plugged in but Isn't Charging

(Image Credit Google)
One of the disappointing issues that laptop users might experience is the point at which their device is connected yet not charging. This issue can happen after a Windows update, creating turmoil and bother. Luckily, there is a basic fix that can assist with settling this issue. We will direct you through the steps toward getting your Windows 11 laptop's battery charged once again and more.

Two Possible fixes: Update or restore

If the above steps did not solve the problem, there are two additional fixes you can try: updating Windows or restoring your system to an earlier point. Check for Windows updates, assuming that are found, introduce them by following the on-screen guidelines, and restart your laptop for the updates to produce results. Routinely refreshing your Windows working system is important for bug fixes, security patches, and new features, guaranteeing a smooth and secure computing experience. Also Read: The System76 Serval WS Linux Laptop Now Has a 14th Gen Intel CPU The second best technique is to Start the restoration process, sit tight for it to finish, and check assuming the battery is charging after your laptop restarts. The System Restore highlight permits you to return your Windows system to a past state, settling issues that happened after changes or updates. These extra fixes can assist with settling the issue which is connected to the problem related to system updates or arrangement changes. 

Plugged in, not charging

Assuming your laptop acknowledges that it is connected yet won't charge the battery, follow these means:
  1. Open the Device Manager by searching for it or right-tapping the start button and choosing Device Manager.
  2. In the Device Manager, click on "Batteries" to expand the rundown. You can now see two things: "Microsoft AC Adapter" and "Microsoft ACPI-Compliant Control Method Battery."
  3. Right-click on each thing and pick "Uninstall device." Simply sit back and relax, as the battery drivers will naturally be reinstalled when you restart your laptop.
  4. Close down your laptop.
  5. Turn off the power link from your laptop.
  6. On the off chance that your laptop has a removable battery, eliminate it. If not, continue to the next stage.
  7. Set the battery back if you removed it.
  8. Plug in your laptop.
  9. Power on your laptop.
  10. Click the battery icon in the system tray, and you should see that your laptop is currently connected and charging.
By uninstalling and reinstalling the battery drivers and playing out a power cycle, you can frequently determine the issue of a Windows 11 laptop not charging when it is connected. In any case, kindly note that different laptop manufacturers might have slight varieties in their strategies. All in all, experiencing a Windows 11 laptop that is connected but not charging can be disappointing, yet there are basic advances you can take to determine the issue. By uninstalling and reinstalling the battery drivers, power cycling your laptop, updating Windows, or restoring your system to a prior point, you can frequently get your laptop's battery charging once again.

By Monica Green

I am specialised in latest tech and tech discoveries.

RELATED NEWS

Envision a laptop that serves as both a tool and a...

news-extra-space

Remember those annoying Windows updates that force...

news-extra-space

Say goodbye to unorganized apps and forced logins!...

news-extra-space

As the gaming industry continues to develop, repor...

news-extra-space

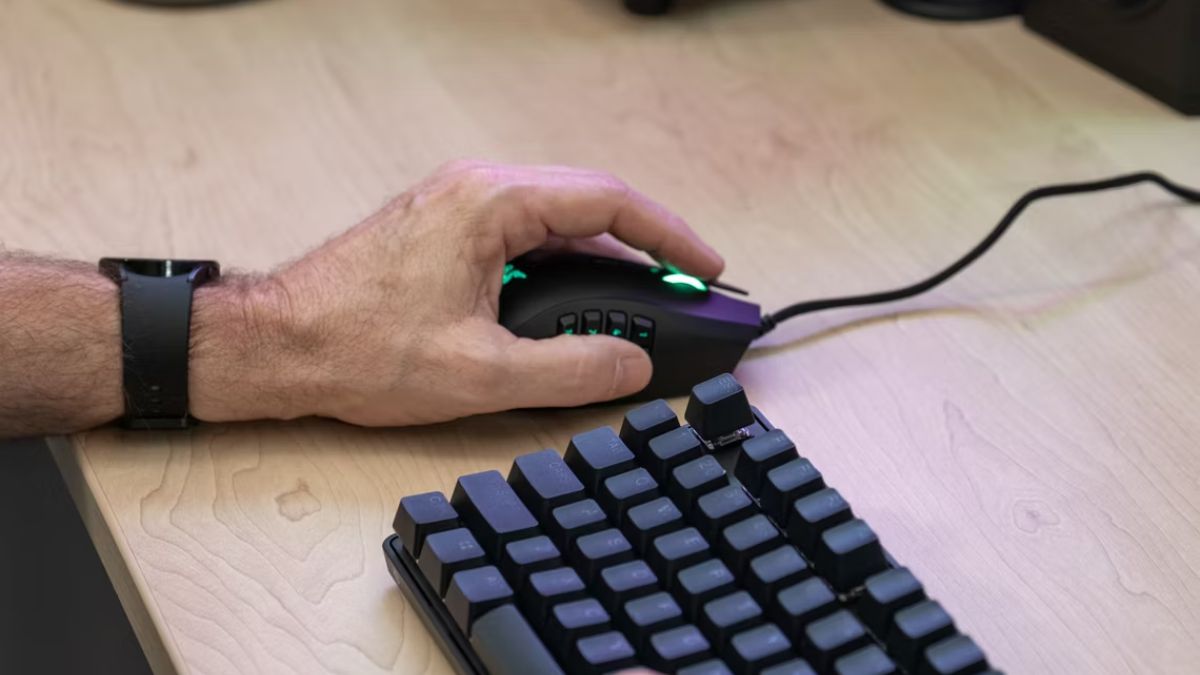
Assuming you've at any point ended up in a circums...

news-extra-space

If you're hoping to expand your Meta Quest game li...

news-extra-space
2
3
4
5
6
7
8
9
10