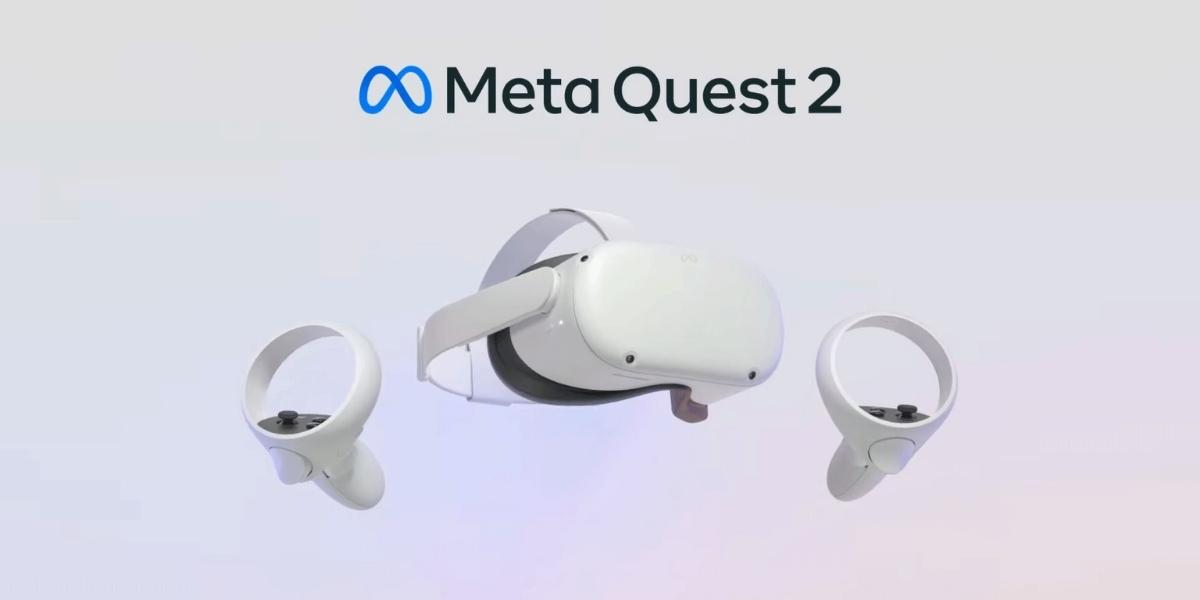
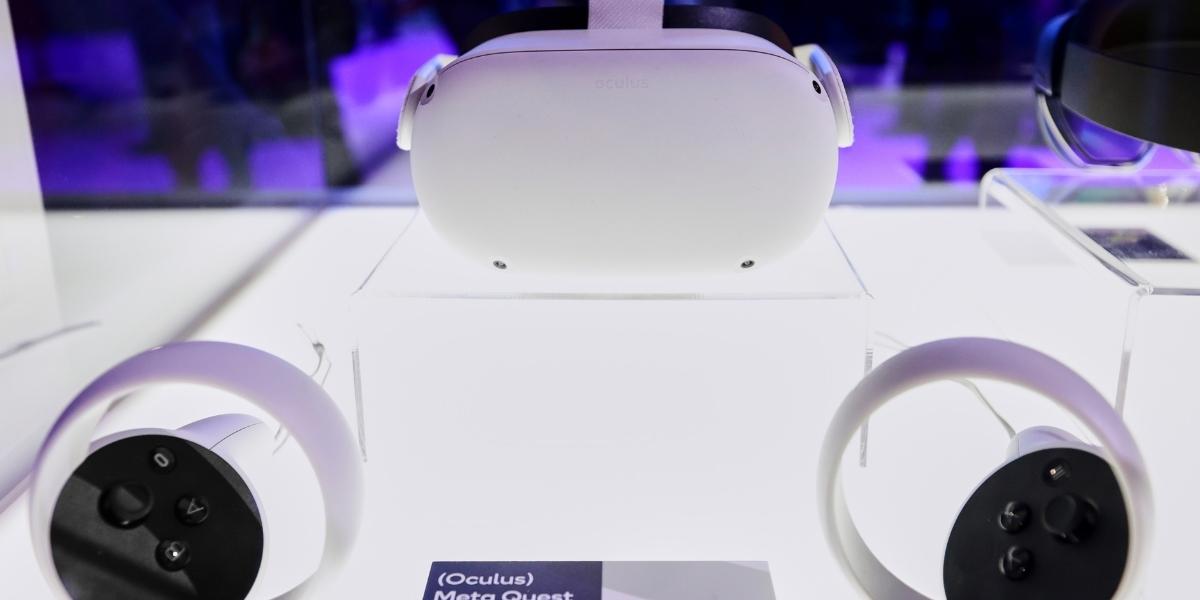
Transform Your Oculus Quest and Meta Quest 2 To The Grand Oculus Rift
September 20, 2022 By Raulf Hernes
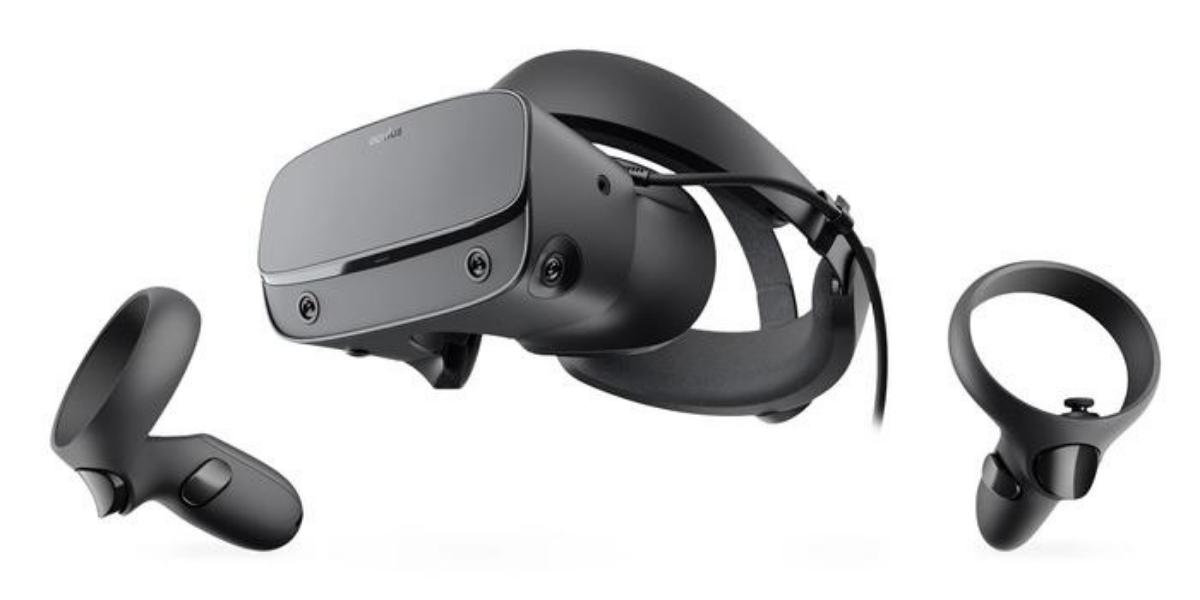
(Image Credit Google)
Oculus Quest and 2 offer a great experience, but you can get a grander experience by transforming them into Oculus Rift.
Below is the way to turn Oculus Quest into a PC VR headset by using wireless techniques and storing all the games on the PC. You can buy a less expensive Oculus Quest 2 with 128 GB. The virtual desktop is the way to play PC VR games on Oculus Quest and Oculus Quest 2. You can customize them, and it provides several options.
Virtual desktop costs $20 but gives the best wireless experience, and the Oculus Air Link is free and provides a similar experience. In addition, when Oculus Quest 2 is connected to the WiFi 6 network, higher-quality visuals with lower latency are provided on the virtual desktop.
 With a virtual desktop, you can directly connect and stream from your PC to Oculus Quest without additional connections that were once required. You must install a virtual desktop on your Quest and get the streaming app on your system.
Buy the correct Oculus Quest with a virtual desktop available on the Oculus store and linked above. The Steam and Oculus Rift versions are different. After purchasing, put on Oculus Quest and install a virtual desktop. Below is the way to do it:
With a virtual desktop, you can directly connect and stream from your PC to Oculus Quest without additional connections that were once required. You must install a virtual desktop on your Quest and get the streaming app on your system.
Buy the correct Oculus Quest with a virtual desktop available on the Oculus store and linked above. The Steam and Oculus Rift versions are different. After purchasing, put on Oculus Quest and install a virtual desktop. Below is the way to do it:
- If the bar at the bottom is not visible, click the home button on your right
- Click the install button to download the virtual desktop on the tile
- Make sure that the Quest and PC are using the same WiFi network
- Take off the headset but do not launch the virtual desktop yet
Now move over to the PC:
- Install Steam if it is not already available
- Download Steam VR by logging in to your Steam Account
- Download the Meta Quest app by clicking the download link in Air Link and Link Cable section
- Sign into your Meta account
- The Virtual desktop will handle the headset setup
- Download the Virtual Desktop streaming app
- Once downloading is done, run the app
 How to proceed
- Enter the Oculus username and click Save
- For a complete experience, make sure to select, Start With Windows and Minimized In Tray
- All you need to do in the future is turn on the PC and launch Virtual Desktop on Oculus Quest
Start Gaming:
- Using the library tab, launch Virtual Desktop on the Oculus bar located at the bottom
- While using it for the first time, Select Desktop PC from the list, and that is the only thing that is listed
And then:
- Once Virtual Desktop has connected to your PC, press the menu button on the left Quest controller to bring up the Virtual Desktop menu.
- Select Start SteamVR on the left-hand menu
- Once SteamVR loads up, press the menu button on the left Quest controller to pull up the SteamVR dashboard
- Long-press the menu button on the left Quest controller to bring up the Virtual Desktop menu again. It would help if you always launched new games this way instead of browsing the SteamVR library from Steam.
Enjoy wireless SteamVR on your Oculus Quest or Oculus Quest 2!
 Oculus Air Link was launched as part of the April v28 Oculus update and was available to all gamers of Oculus Quest and Oculus Quest 2. It is a free app for the Oculus ecosystem, allowing players to go wireless using the WiFi network. It works great on WiFi 5, too but works even better with WiFi 6 as they allow a higher bit and frame rate.
- Ensure that Steam is installed on your computer
- Download SteamVR by logging into your Steam account
- Download the Meta Quest app from Air Link and Cable Link section
- Sign into your Meta account
- Go to settings on the Oculus software
- At the top is a Beta app; select it by clicking
- Switch on the Air Link toggle
After that, you will need to accept a prompt from Windows Firewall to access Oculus Air Link. With software version 28, the Oculus Air Link automatically appears. If the option is still not enabled, follow this:
Put on the Quest or Quest 2:
- Press the Oculus Home button on the suitable controller to open the Universal Home menu
- Select the settings cog on the right side of the menu
- Click on the Oculus Air Link button on the right side. It's one of the three larger rectangular buttons
And then:
- On the pop-up screen, select your PC from the list of available computers and click the blue pair button to link it
- If you don't see your PC on this screen, ensure your Quest and PC are on the same network
- Once it links your PC and Quest, select the blue Launch button to begin Air Link
- Press the Oculus Home button on the suitable controller to open the Oculus Home bar
- On the Oculus Home bar at the bottom, select the Library button
Launch SteamVR that is under the apps:
- Click the menu button on the left to pull up the SteamVR dashboard
- Use the library tab, which looks like a vertical stack, to launch your favorite game
Adjusting the Air Link Settings and Return Home; Returning to the Quest world is straightforward:
- Click the Oculus Home Button on the right
- Select the Oculus Link button on the left of the Oculus Home Menu
Select the quit button when you are done.
Even though the wireless option is the best, if you do not have WiFi access, wiring up your Oculus with an Oculus link cable is the best option. It provides a consistent experience as it is not affected by the congestion in the network. You will need a USB Type C cable to plug into the system.
The Oculus link cable that costs $80 provides a great experience and is officially recommended by Oculus, or buy the Oculus link cable alternatives, which saves money. Another option is to connect through the USB-A port. Now follow the below instructions:

- Make sure Steam is installed on your computer. You can get Steam here
- Login with your Steam account and download SteamVR.
- You'll also need to download the Meta Quest app
- Click the download link under the "Air Link and Link Cable" section.
- Sign in with your Meta account
- Connect one side of the USB cable to the appropriate port on your PC
- Connect the other side to your Oculus Quest/Quest 2
- The Oculus app on your computer should recognize the Oculus Quest once it's plugged in. Click Continue on the screen that pops up to enable Oculus Link
- If your cable fails the test, you should consider one of the cables we recommended above
- Click Continue and put the Oculus Quest on your head
- Be sure to select Deny if prompted to allow data access to your Quest. Choosing to accept could interfere with the connection and cause random disconnections during play
- On your Quest, select Enable Oculus Link on the next pop-up that appears
- The Oculus Home menu will appear. It looks different from your regular Horizon Home on the Quest
- Once the Oculus Home menu appears, select Apps on the left-hand side of the screen
- Start SteamVR
- Once SteamVR loads up, press the menu button on the left Quest controller to pull up the SteamVR dashboard
- Launch games from the Library menu at the bottom. It looks like a vertical stack of books
Now you are all set to enjoy the PC VR!
It does not matter how you connect, either with a wireless connection or setting up with wire, and it is a great experience to turn your Oculus Quest to Oculus Rift and play PC VR games.
Courtesy: androidcentral