HOW TO FIX A HOVERBOARD?
Image Credits: Dhgate
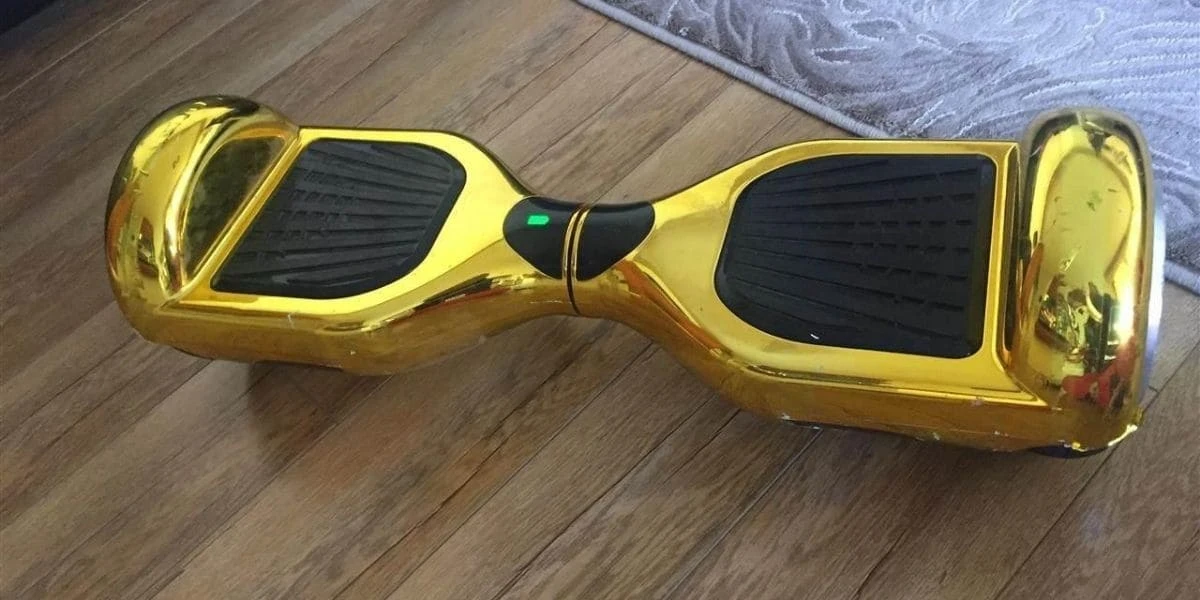
The hoverboard is gaining ground as a recreational favorite. It is not just a fun toy but a personal mode of commutation. However, if you own a hoverboard, you must remember that this device is prone to facing issues. A faulty hoverboard can dampen your fun and ruin your on-road experience. In this post, we will throw light on some common solutions on how to fix a hoverboard problem on your own.
Diagnosing the Problem
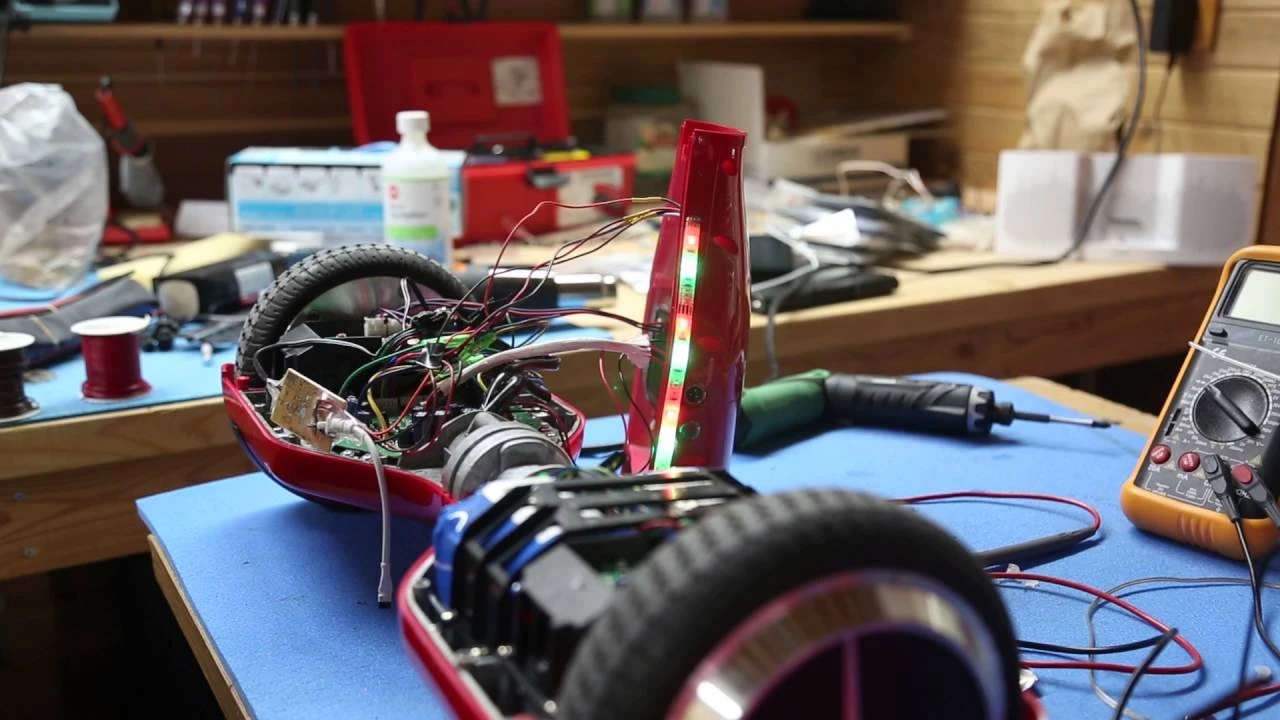
Image Credits : Youtube
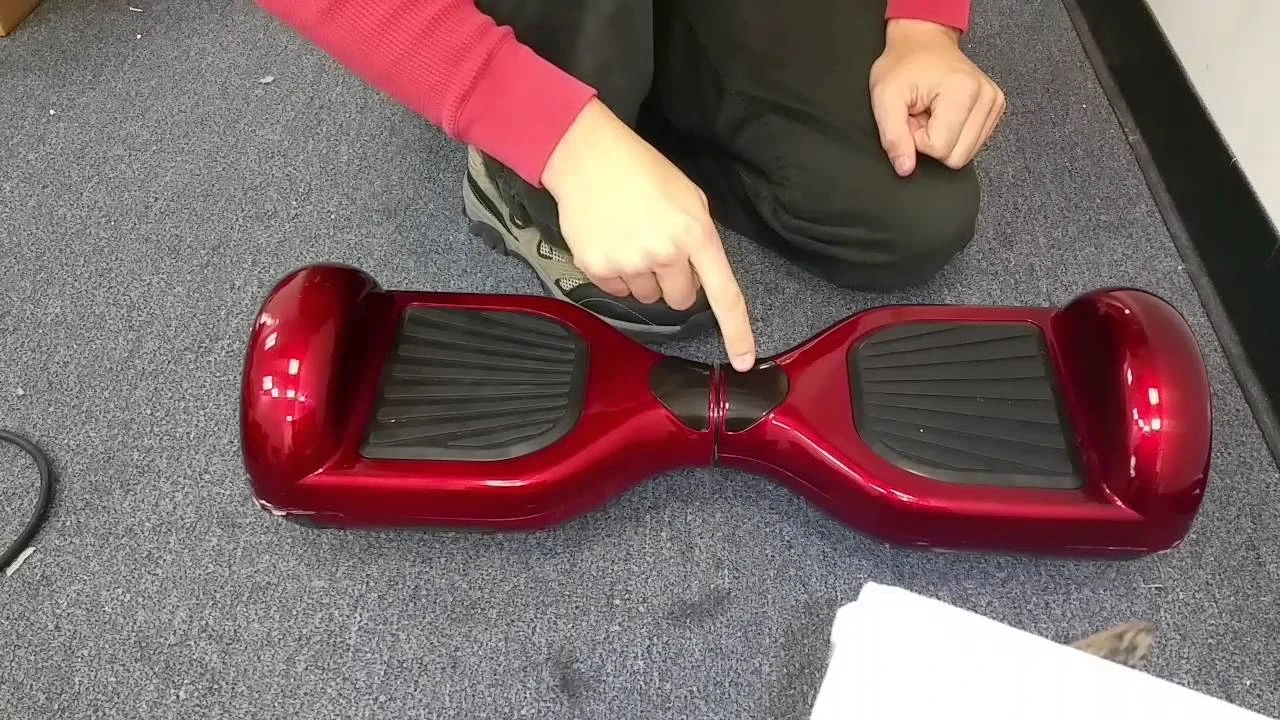
Diagnosing the issue is the first step towards solving it. It is essential to figure out what ailment inflicts on your hoverboard. Is it a simple charging issue, or do you have a faulty battery? The problem can be anything from broken charging ports to a wet hoverboard.
Problem 1. The Hoverboard Doesn’t Turn ON
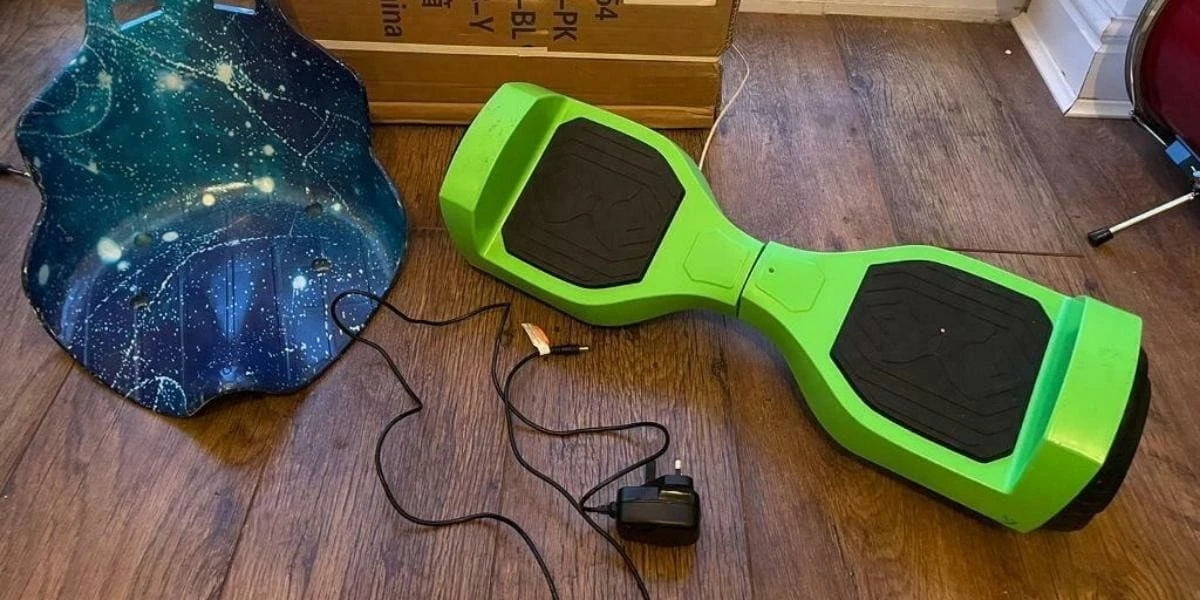
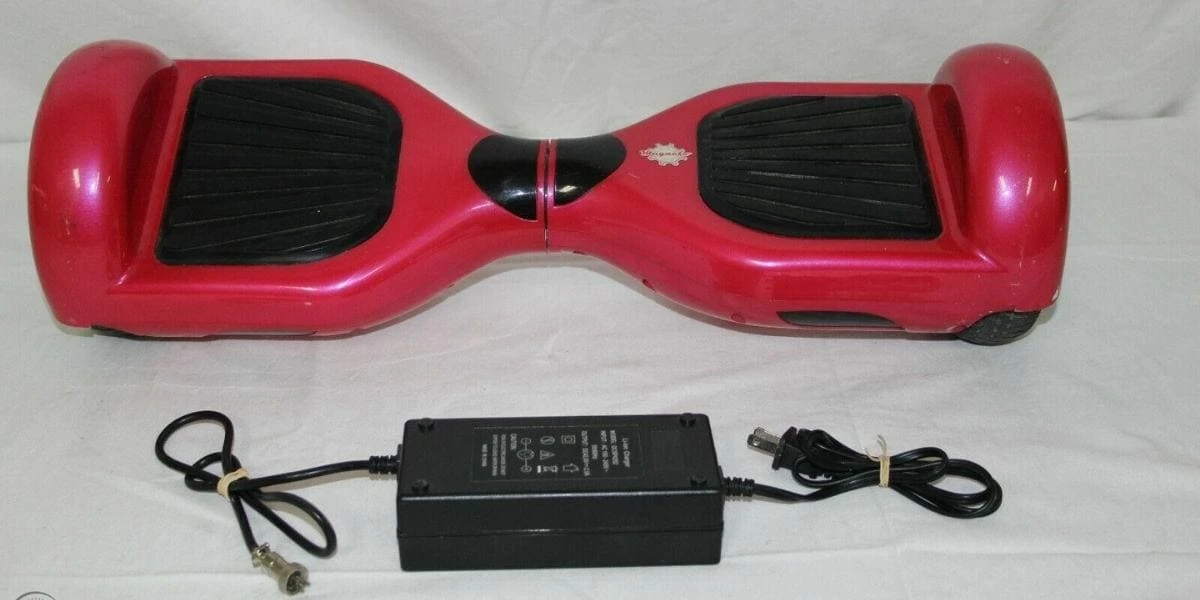
The first solution in this how to fix a hoverboard guide is when your hoverboard doesn’t turns ON. If your hoverboard is unable to turn on, check if it’s taking charge. If the green light on the charger’s box is not visible, the hoverboard’s internal circuit has gone awry. It would help if you replaced the charger in such a case. Also, make sure there are no issues with your wall socket.
On the other hand, if the green light appears on the charger, turn on the hoverboard. If orange light flashes, it means it would be best if you replaced it.
Problem 2. The Hoverboard Doesn’t Turn OFF
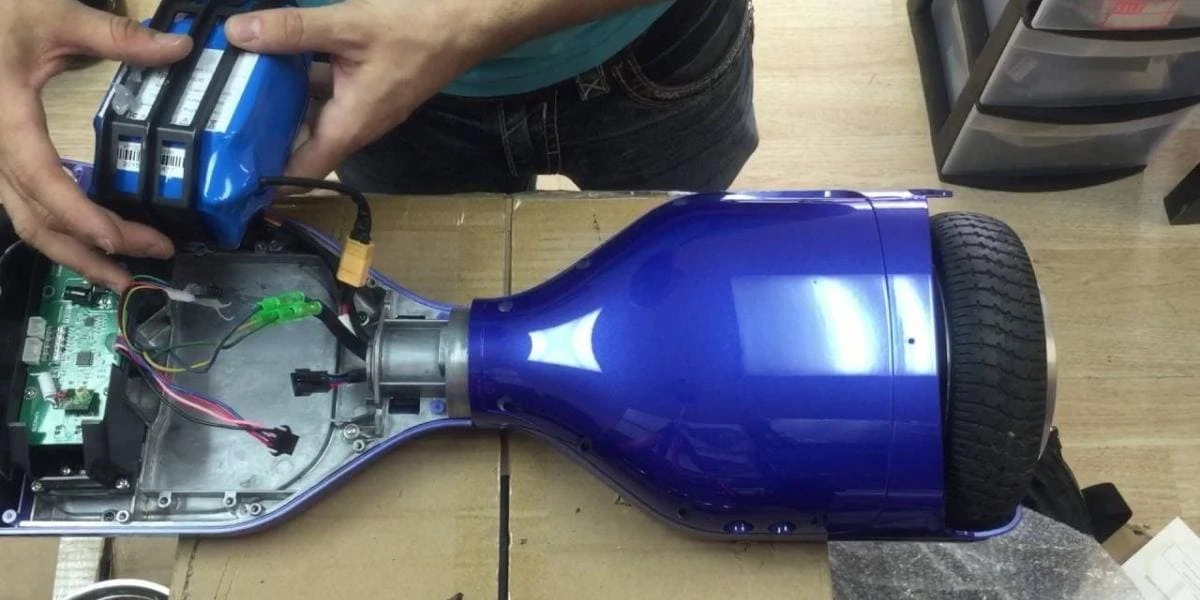
When your board keeps beeping and cannot turn off, you can fix it with a bit of DIY. First, flip it over and unscrew it. Next, pull out the battery slowly. It will prevent the annoying beeping sound. Then you can purchase a hoverboard repair kit and fix the issue on your own.
Problem 3. One Side of The Hoverboard Doesn’t Work
The defective gyroscope sensor can lead to one side malfunction issue. However, you can resolve this problem by changing the gyroscope. In addition, you can do it on your own. First, you need to determine whether your gyroscope is male or female.
If it includes two receiving ports and a wire harness, it is male. On the contrary, it’s female if it contains more than two receiving ports without any wire harness.
Problem 4. Hoverboard Charging Issues
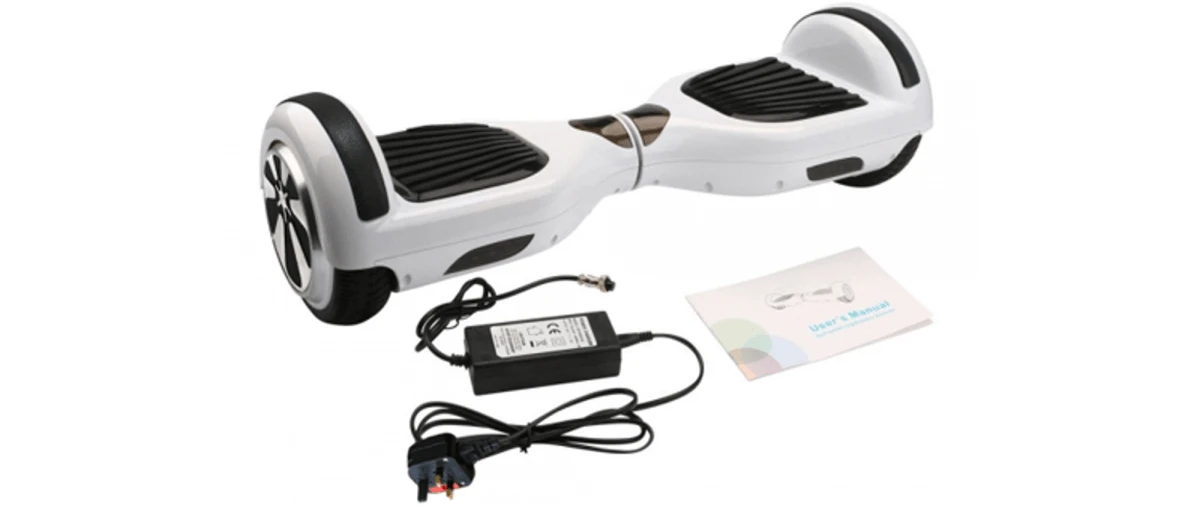
Image Credits : Hovermanual
Folks often encounter charging issues. First, we need to understand charging functionality. After plugging a charger into the hoverboard, if it flickers a red light, it implies the board is charging correctly. It takes 2 to 3 hours for a full charge. If the charger shows green light, it specifies the battery is full, and you need not charge it further.
For convenience, here are some solutions on how to fix a hoverboard charging issues in the below categorized four scenarios.
Scenario 1. If the charger shows a red light, keep charging it for 2 to 3 hours until full charge.
Scenario 2. A red light appears with a beeping noise when you turn it on. At the same time, the green light stays on. It means the battery is defective and it would be best if you replace it.
Scenario 3. The hoverboard shows orange light when powered on or the board doesn’t turn on; it alludes to the battery problem. It would help if you replace the battery.
Scenario 4. The charger doesn’t show any light at all. First, ensure the three-pronged plug is aligned with the charging port. Then check if your electrical socket is perfectly fine. In case the outlet works perfectly, then the charger might be broken. Your charger needs replacement.
Problem 5. Broken Charging Ports
A broken charging port is a common problem. Due to this issue, the battery doesn’t hold a charge when you plug the charger. You can contact online vendors that sell charging ports. In addition, you can repair it by yourself. You can refer to our hoverboard charging issues guide to address your charging issue.
Problem 6. Red Light Flashing Once
Red light blinking once indicates loose wiring within the internal circuit. It can lead to a low battery, just as 5% or less. When the battery is seriously low, the hoverboard tends to create a beeping noise. In such a case, avoid riding the board.
You can tighten all loose cables using a screwdriver after unscrewing the external case. If there is no loose cable, disconnect and reconnect all the wires and screws.
Problem 7. Red Light Flashing 2 to 3 Times
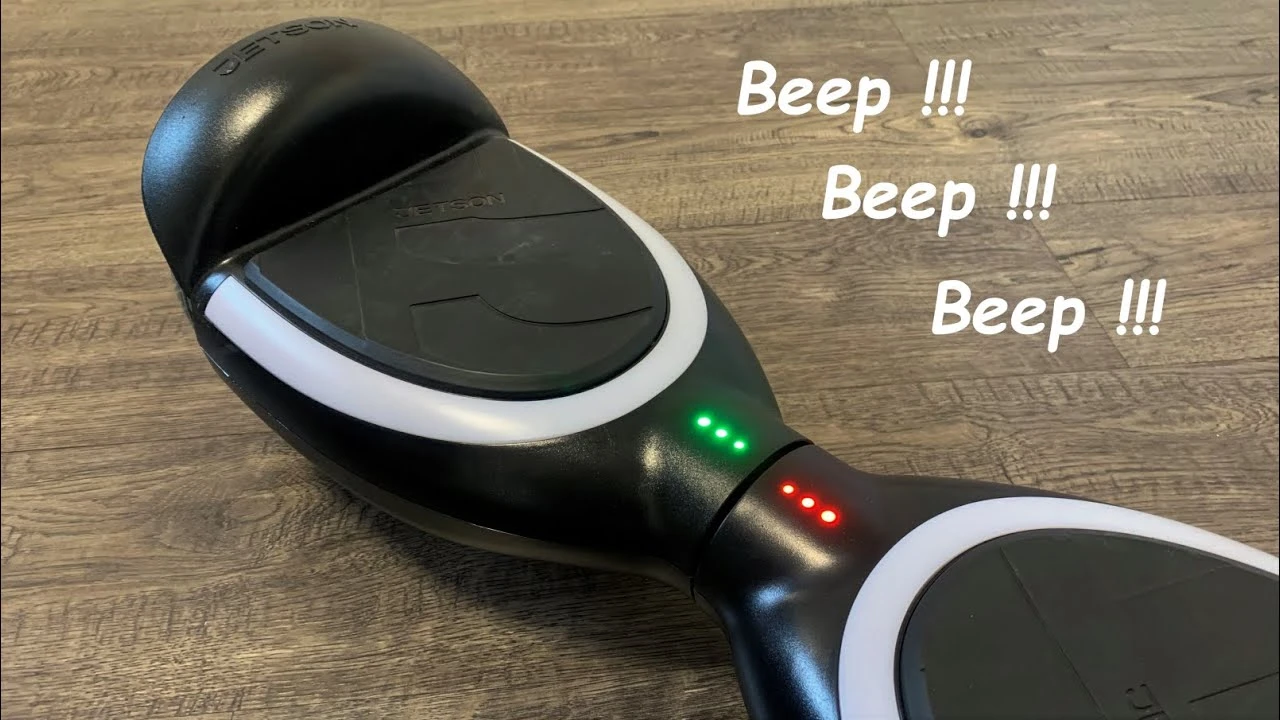
Image Credits : Youtube
Red light blinking 2 to 3 times indicates some complex circuit issues. You need a circuit board replacement. You may need the help of a professional to carry it out. You can refer to some Youtube videos to reinstall the circuit board. Here you can solve this problem through this how to fix a hoverboard guid
Problem 8. Red Light Flashing 4 to 5 Times
Red light blinking four times specifies an issue with the motor on the mainboard side of the device. But if the red light blinks five times this refers to the problem with the motor on the battery side. In such a case, replacing the motor is advisable.
Problem 9. Red Light Flashing 6 Times
Red light flashing six times indicates a problem with the battery. In this case, we suggest battery replacement.
Problem 10 Red Light Flashing 7 to 8 Times
Red light blinking 7 to 8 times at a stretch represents gyroscope-related problems. It can be either unsteady sockets, or pin deviation, or interface misalignment. In such a scenario, it would help if you replaced your gyroscope or complete circuit board.
Problem 11. Red Light Flashing 9 Times
Another problem in our how to fix a hoverboard guide is related to red light flashing 9 times. Such a problem arises when your board is upside down, and it is turned on. It creates direction issues. This situation asks for flipping over the device.
Problem 12. Wet Hoverboard
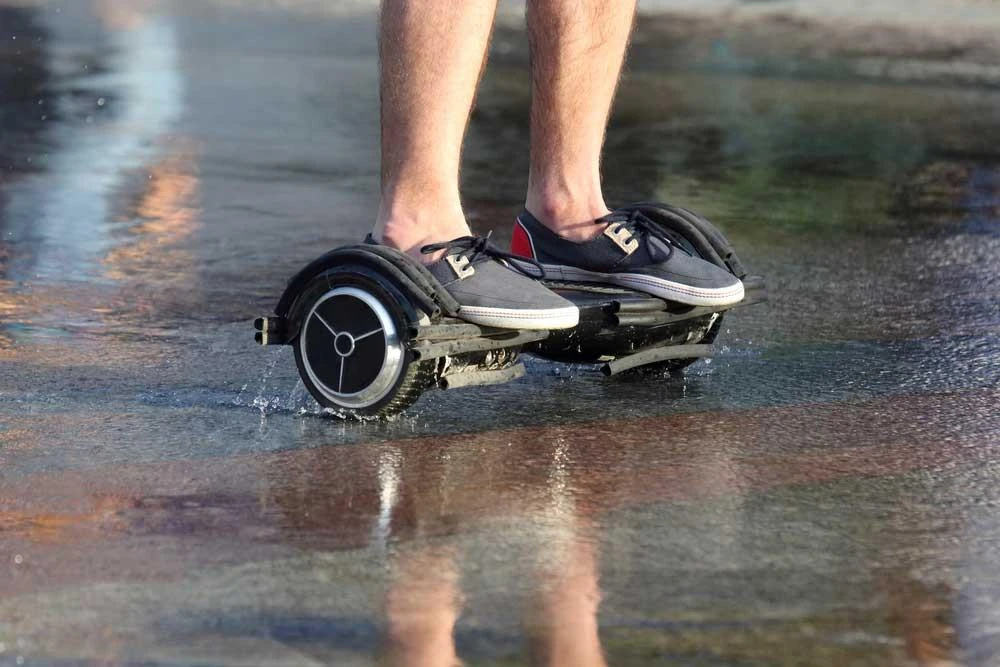
Image Credits : Streetsaw
If you run your hoverboard through a swamp or puddle, it can make the internal circuit wet and become a bit unfunctional. Further, it will cause damage to the motherboard. Motherboard defects can raise your woes.
If such is the case, quickly power it down and pull out the motherboard and battery. Wipe all parts and components with a delicate, dry cloth and leave it to rest overnight. Unfortunately, if it doesn’t work, you may need a replacement.
Problem 13. Hoverboard Wheels Locked in Place
In the wheel locking situation, you need to pull off the wheel perfectly by removing the screws that set the wheel in place. Then replace the washer that separates the wheel and motor to fix this issue. Repeat the same process on the opposite side also to avoid this imminent issue.
Related reviews & buying guide
